Celebrate your patriotic spirit with stunning American flag nail art, ideal for honoring the 4th of July or any national occasion. Choose a timeless design featuring the iconic red, white, and blue hues blended seamlessly in a chic ombre style. Enhance the look with delicate stars and stripes for a festive yet elegant touch. This manicure complements any attire, be it casual or formal, ensuring that the essence of patriotism shines through at your fingertips.
A Gradient of Patriotism
The design in this image gracefully captures the essence of American flag nails through a splendid gradient effect. The nail starts with a sparkling white at the base and fades into a rich blue topped with pristine white stars, creating a celestial look. This manicure is ideal for those who appreciate a subtle nod to patriotism coupled with a French flair.
Advertisement
Essential Products for this Design
- White polish: Essie’s Marshmallow
- Blue polish: CND’s Blue Rapture
- Star stickers or white polish for stars
- Gradient sponge for a smooth transition
- Top coat for a lasting finish: INM Out The Door
Creating the Gradient Effect
Apply a base coat to protect your nails. Paint the entire nail with the white polish as a base. Once dry, use a gradient sponge to apply the blue polish at the tip, blending it back towards the middle. Place star stickers or dab small stars with a detailing brush. Finish with a high-gloss top coat for a durable, glossy look.
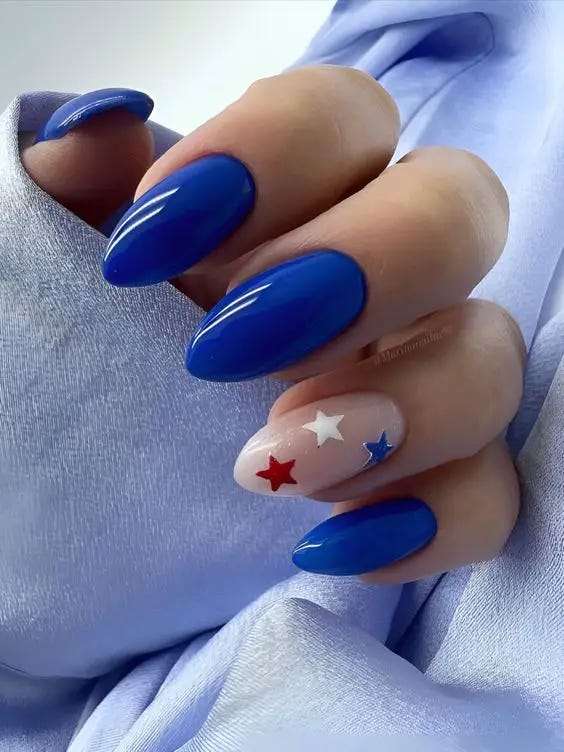
Subtle and Stylish
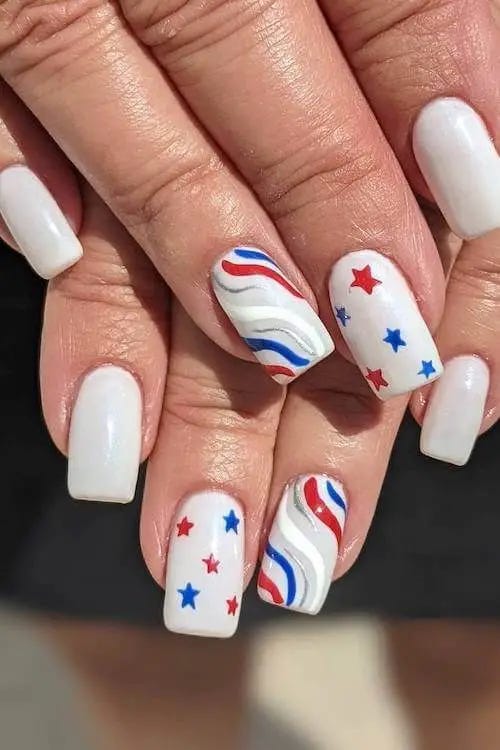
This image presents a minimalist approach with a clear natural with design base accented by small red and blue stars. This design is perfect for anyone seeking simple and cute American flag nails that aren’t overpowering but still festive and appropriate for occasions like the 4th of July.
List of Consumables
- Clear polish or base: OPI’s Natural Nail Base Coat
- Red and blue nail art pens for precise star shapes
- Top coat: Seche Vite Dry Fast Top Coat to seal the design
How to Achieve this Minimalist Design
Start with a clean, prepped nail surface and apply a base coat. Once the base is dry, use nail art pens to draw tiny stars in red and blue on one or two accent nails. Apply a top coat to protect the design and add a shiny finish.
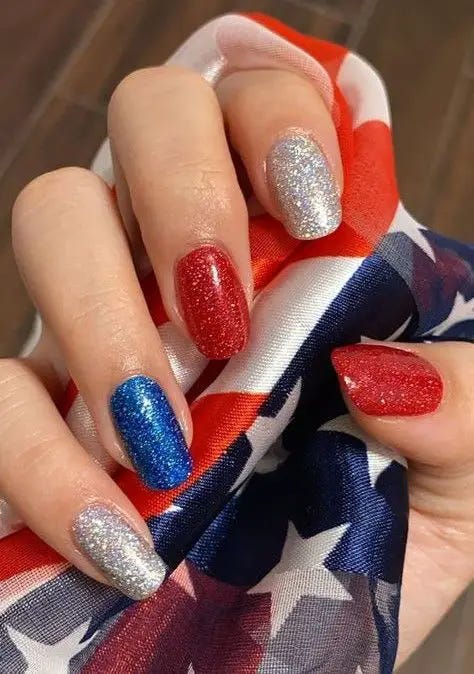
Glittering Patriotic Splendor
This image is all about celebration, featuring nails painted in vivid red, dazzling blue, and shimmering silver glitter. It’s perfect for 4th of July events, combining cute and aesthetic vibes that shine bright during fireworks and festivities.
Advertisement
Products Needed
- Red glitter polish: ORLY’s Star Spangled
- Blue glitter polish: China Glaze’s Dorothy Who?
- Silver glitter polish: Essie’s Set in Stones
- Top coat for sealing and shine
Step-by-Step Guide
Paint your nails with two coats of red on the thumb and pinky, blue on the ring finger, and silver glitter on the middle and index fingers. Allow each coat to dry thoroughly before applying the next to avoid smudging. Finish with a high-gloss top coat for extra shine and protection.
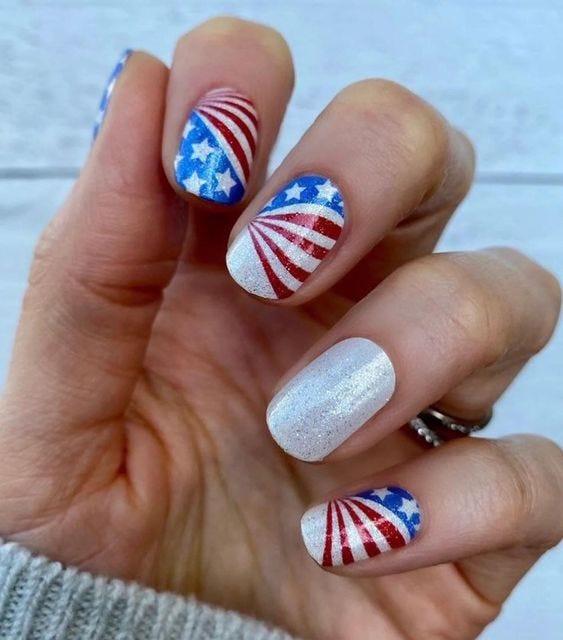
Striped and Starred Brilliance
The ninth image shows a sophisticated take on the classic American flag nails, featuring alternating red and white stripes with a bold blue and white star design. This look is refined yet impactful, perfect for expressing patriotism with a chic twist.
Essentials for This Look
- White polish: Essie’s Blanc
- Red polish: Sally Hansen’s Red My Lips
- Blue polish: OPI’s Eurso Euro
- Striping tape for precise lines
- Small star decals
Crafting This Look
Use striping tape to create clean lines for the red and white stripes. Apply the tape after the white base has dried, then paint over with red. For the starred nail, apply a blue base and use star decals or a fine brush to create white stars. Finish with a clear top coat for longevity and gloss.
Playful Summer Vibes
The final image showcases a playful and cute approach to American flag nails, incorporating various patterns and styles on each nail, including stripes, dots, and floral designs. This manicure is ideal for those who love a fun and eclectic style, perfect for summer picnics and casual outings.
Required Materials
- Various colored polishes: red, white, blue, and more
- Dotting tools for polka dots
- Fine brushes for detailed art
- Top coat: Essie’s Good To Go
How to Create This Playful Look
Experiment with different designs on each nail. Use a fine brush for detailed patterns like stripes and florals, and dotting tools for polka dots. Apply a base color, then layer your designs on top. Seal with a top coat to ensure your playful manicure lasts through the fun!
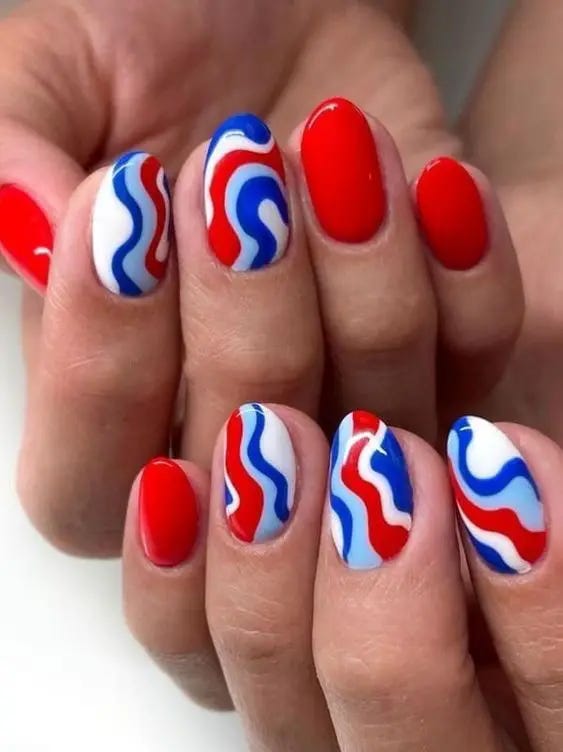
Waves of Freedom
This nail design captures the fluid and dynamic spirit of the American flag with wavy lines in red, white, and blue, sweeping across a brilliant white base. It’s an artistic representation of freedom — perfect for Designs 4th of July celebrations.
Advertisement
Materials Needed for This Manicure
- White polish: OPI’s Alpine Snow
- Red polish: Essie’s Really Red
- Blue polish: Sally Hansen’s Blue Me Away
- Detailing brush for wavy lines
- Top coat: Seche Vite Dry Fast Top Coat
DIY Technique to Achieve Wavy Lines
Start with a base of white polish for a clean canvas. Use a detailing brush to draw wavy lines with blue and red polishes, ensuring each color smoothly transitions into the next. Finish with a fast-drying top coat to seal in the design and enhance durability.
Star-Spangled Playfulness
Here, the nails showcase a playful arrangement of stars and dots, melding the traditional colors of red, white, and blue into a cheerful pattern. This design combines simplicity with a festive touch, ideal for a simple yet cute look.
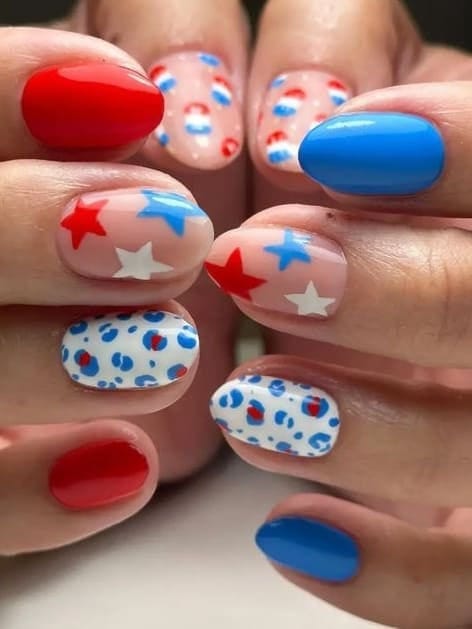
List of Consumables
- White polish: Essie’s Blanc
- Red polish: CND’s Wildfire
- Blue polish: OPI’s Eurso Euro
- Dotting tool for precise dots and stars
- Top coat for a glossy finish
Step-by-Step Creation Guide
Apply a base coat of white polish to all nails. Once dry, use a dotting tool to add blue and red stars and dots randomly across the nails, creating a playful and casual vibe. Seal with a glossy top coat to prevent chipping and to add shine.
Patriotic Pills and Stars
This design features an unconventional mix of capsule shapes and stars over a clear base, incorporating red, white, and blue in a novel way. It’s a unique twist on American flag nails, suitable for someone looking for an aesthetic and western inspired theme.
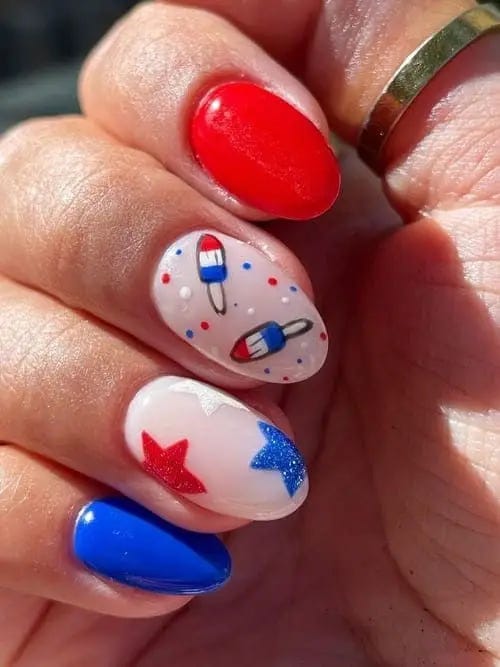
Required Products
- Clear polish: Sally Hansen’s Hard as Nails
- Nail art pens: for detailed capsule and star shapes
- Top coat: INM Out The Door
Crafting This Unique Look
Start with a clear polish as the base. Use nail art pens to draw capsule shapes and stars in patriotic colors. This requires a steady hand and a bit of creativity. Finish with a top coat to ensure the design lasts through your Independence Day celebrations.
Striped Elegance
This image features a sophisticated approach to the flag theme with glitter-enhanced red and white stripes, complemented by blue stars over a white base. It’s an elegant yet festive choice that combines tradition with a touch of glamour.
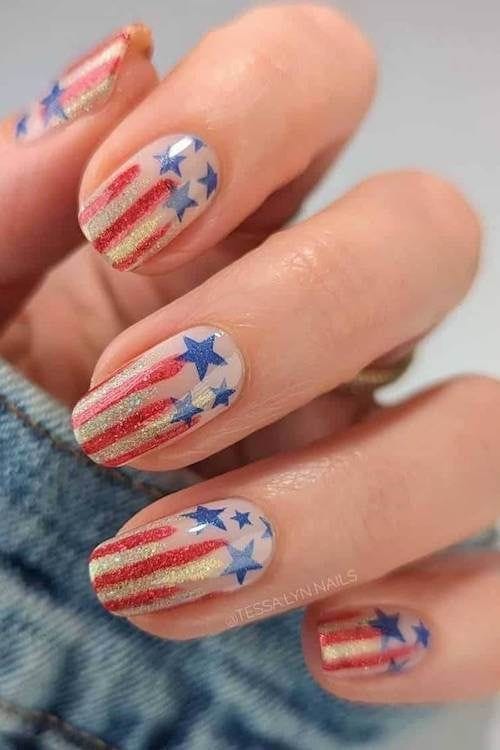
Essentials for This Look
- White glitter polish: Essie’s Set in Stone
- Red polish: OPI’s Big Apple Red
- Blue polish: China Glaze’s Frostbite
- Striping tape for precise lines
- Star decals
How to Perfect This Design
Use striping tape to achieve precise, glitter-infused red and white stripes. Apply a white glitter polish as a base, then alternate with red stripes. For the accent nail, use a white base and apply blue polish for stars. A top coat adds shine and longevity to this intricate design.
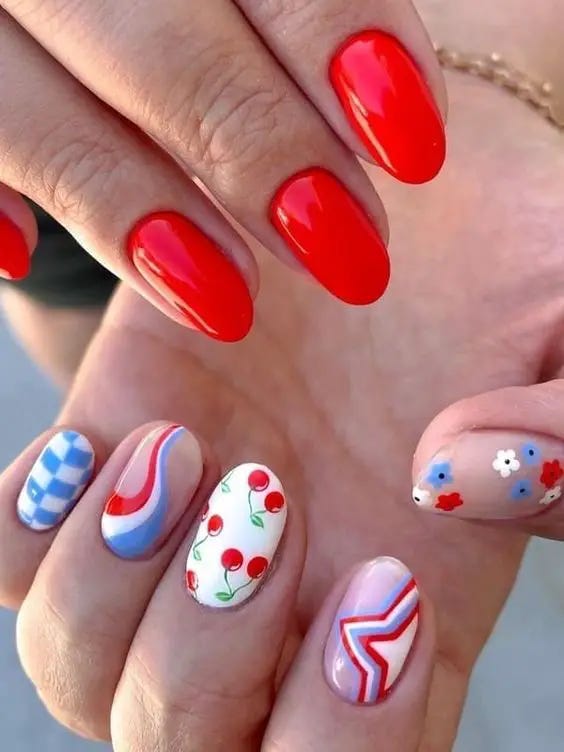
Festive Variety
This nail design celebrates a variety of patterns, including waves, stars, and stripes, using the classic red, white, and blue palette. It’s a bold and festive way to display patriotism, perfect for 4th of July celebrations or any day you want to feel particularly American.
Products and Techniques
- White polish: OPI’s Alpine Snow
- Red polish: Essie’s Geranium
- Blue polish: Sally Hansen’s Pacific Blue
- Detailing brushes and striping tape for intricate patterns
- Top coat: Seche Vite for a lasting finish


0 Comments