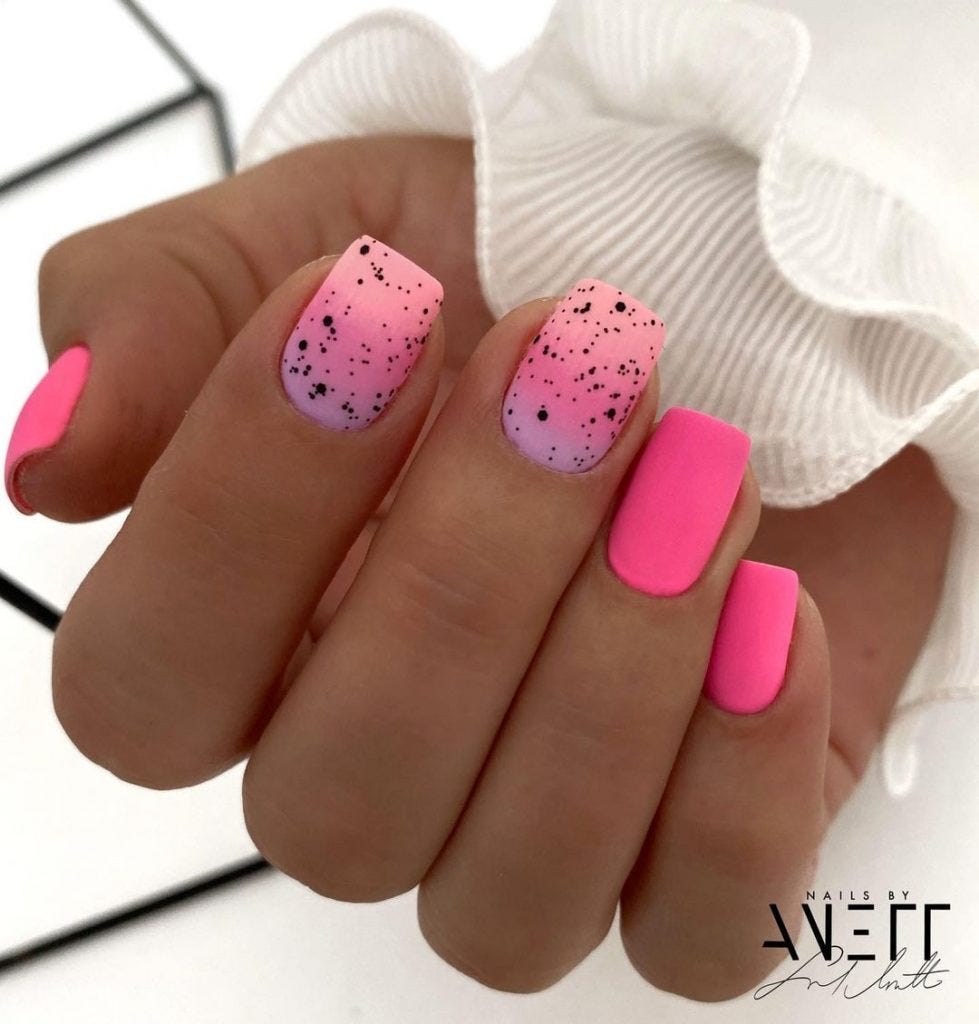
Show off your fashion sense this summer with trendy ombre nails — showcasing sizzling designs infused with avant-garde artistic concepts and vibrant color palettes. Whether it’s airbrushed acrylic French tips or sophisticated dip powders, these styles seamlessly marry glamour with sophistication. Opt for a fiery red ombre with dazzling French tips or elevate your style with a timeless pink and white fusion for a rejuvenating summer vibe.
Advertisement
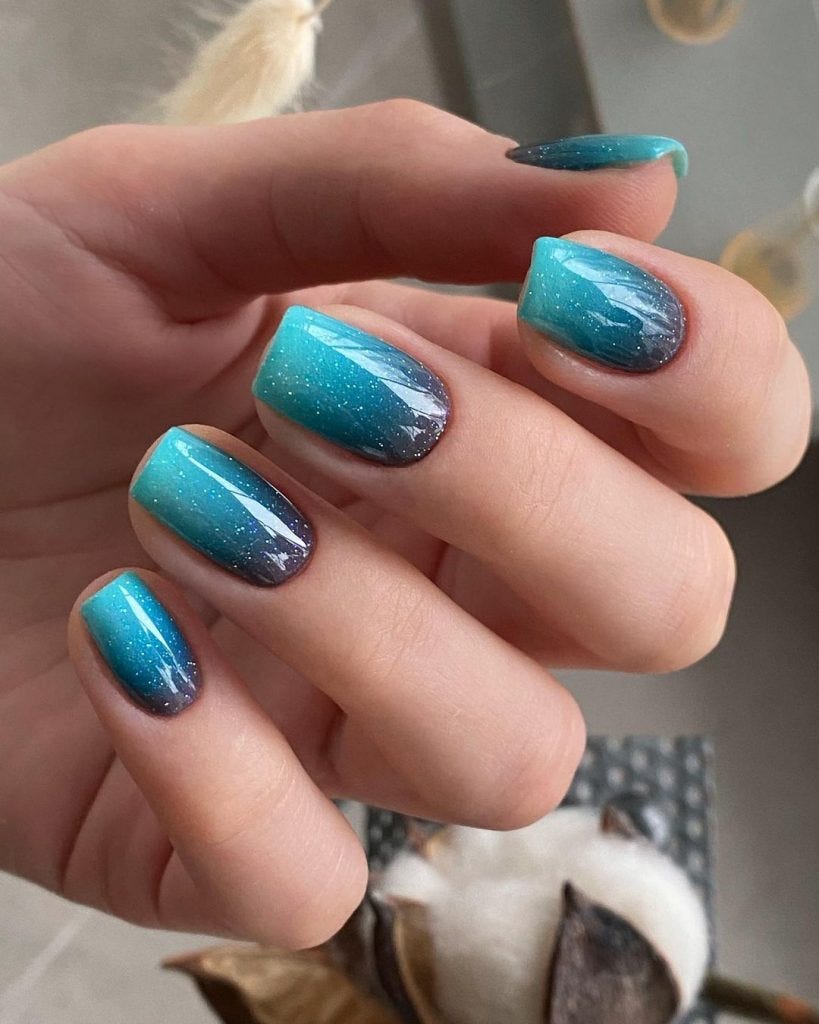
Starry Night Glitter Ombre
The nails are like a night sky scattered with stars. The dark blue to teal ombre is the deep ocean reflecting the night sky, and the sprinkle of glitter is the cosmos staring back at us. It’s a design that’s both bold and captivating, suitable for a summer night out under the stars.
Advertisement
Essential Ingredients
- Base coat: “Diamond Strength” by Sally Hansen
- Dark blue polish: “Deep Sea” by OPI
- Teal polish: “Mermaid’s Tail” by Essie
- Glitter: “Cosmic Dust” by Starrily
My Take: The glitter is what brings the design to life; it’s the difference between a simple ombre and a statement piece.
DIY Nail Art at Home
Start with a protective base coat to ensure the longevity of your manicure. Apply the dark blue polish as your base layer. While it’s wet, sponge on the teal from the middle to the tip, and then dab on the glitter. Finish with a glossy topcoat to seal in the sparkle.
Advertisement
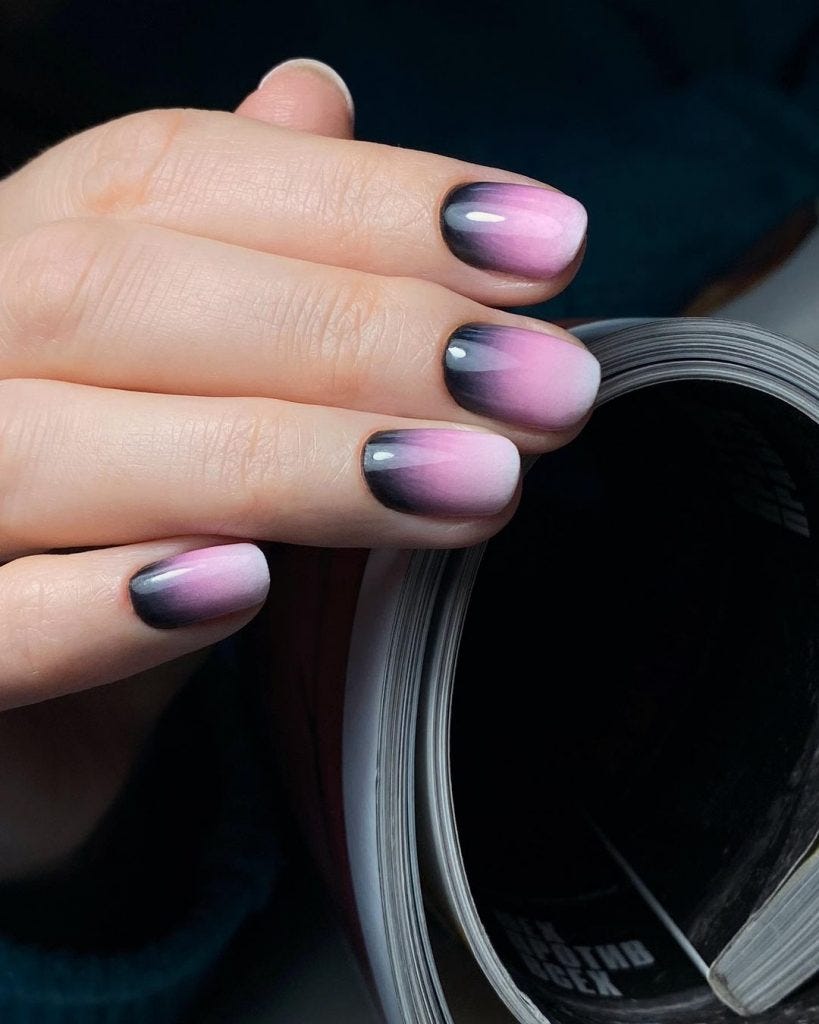
Pastel Pink to Plum Ombre
The soft transition from pastel pink to a deep plum creates a sophisticated and classy gradient suitable for any summer occasion. It’s a look that can transition from day to night seamlessly, embodying the gentle warmth of summer with a hint of nighttime mystery.
Advertisement
Essential Ingredients
- Base coat: “Ultra Adhesive” by Essie
- Pastel pink polish: “Bubblegum Daydreams” by Orly
- Plum polish: “Plum’s the Word” by Sally Hansen
My Take: This gradient requires a delicate touch to maintain the softness of the colors while ensuring the transition is seamless.
DIY Nail Art at Home
After applying your base coat, paint the whole nail with the pastel pink shade. While it’s still wet, sponge on the plum at the tip, carefully blending towards the middle. The key is to work quickly and softly, so the colors merge without harsh lines. A topcoat is essential for smoothing out the gradient and giving it a polished shine.
Advertisement
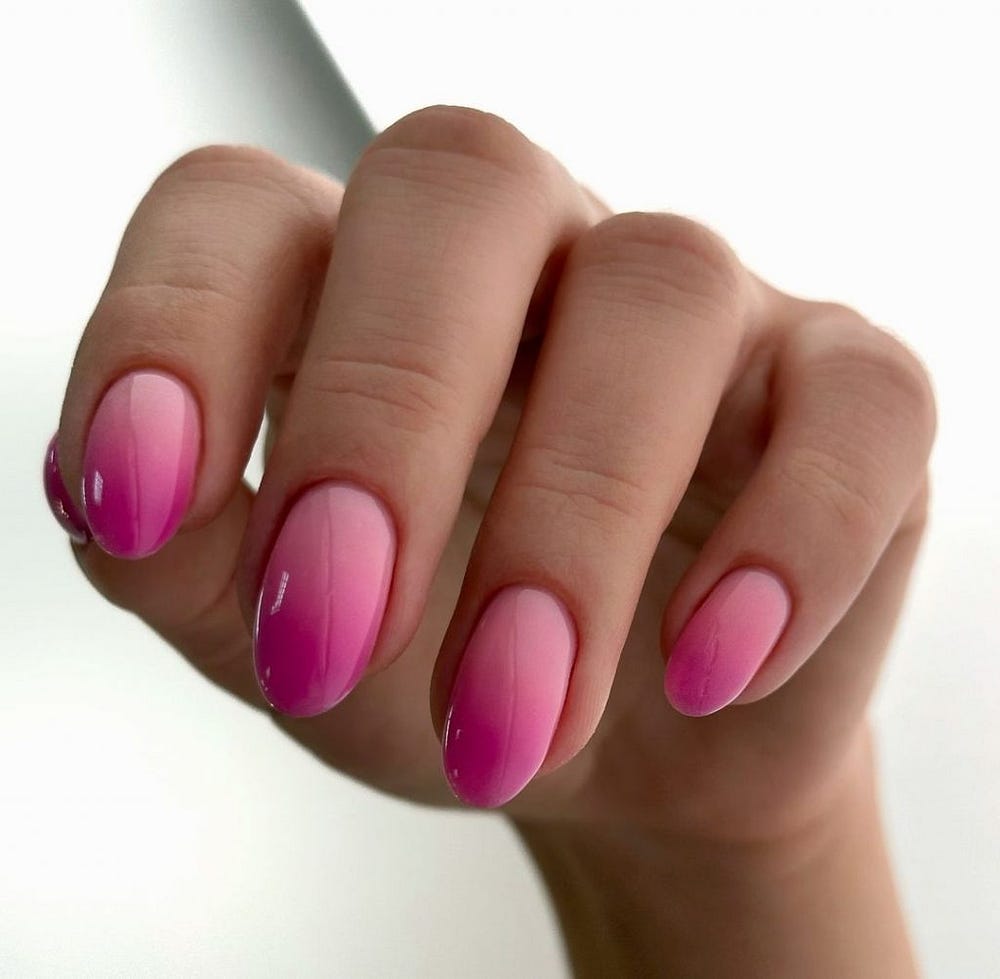
Pink Sunrise Ombre
Admire a gentle sunrise on your nails. The bright pink ombré of this design transitions to a soft milky hue, reminiscent of the sky welcoming the sun. It’s a playful yet elegant style that embodies the lighthearted bliss of summer days.
Essential Ingredients
- Base coat: “Strong Start” by Essie
- Vibrant pink polish: “Party Pink” by CND
- Milky finish polish: “Ballet Slipper” by Essie
My Take: For the pink toe and short gel enthusiasts, this design provides a beautiful option that’s both fun and graceful.
DIY Nail Art at Home
Lay down your base coat for that sticky foundation. Apply the vibrant pink at the base of your nail and, using a clean sponge, dab toward the middle, creating a soft fade as you move. Before it dries, brush on the milky polish from the tip, blending it with the pink for that sunrise effect. A topcoat is the final touch to ensure a glossy finish and to protect your art ideas.
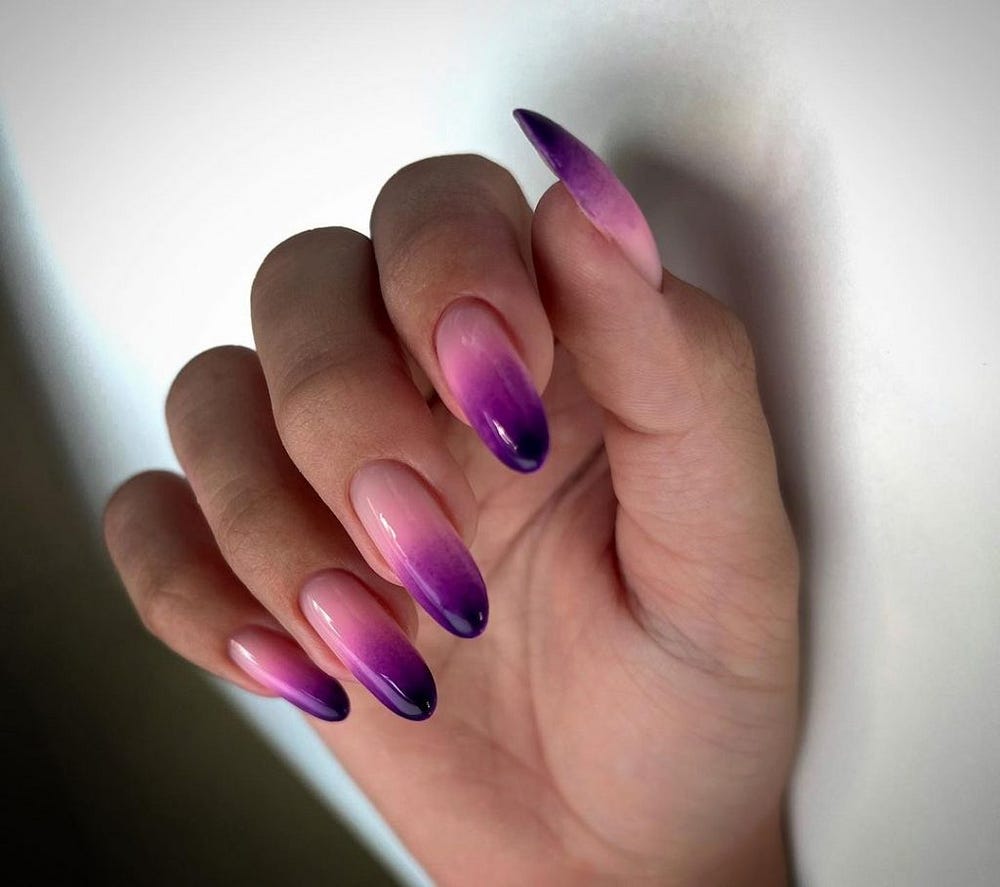
Mystical Gradient of Purple Hues
Feast your eyes on the transcendent beauty. This design is a mystical journey, where the vivid purple at the tips fades into a soft lavender at the base, reminiscent of a twilight sky. The almond shape accentuates the length, giving a seductive yet elegant profile to the hands that bear them.
Essential Ingredients
- Base coat: “Foundation Base” by Gelish
- Deep purple polish: “Eggplant Extravaganza” by Essie
- Lavender polish: “Lilac Love” by OPI
- Topcoat: “Gloss Boss” by CND
My Take: The ombre here is done with such finesse; it’s a purple lover’s dream — a true art.
DIY Nail Art at Home
Begin with a good base coat to protect the nails. Apply the lavender polish first, then while it’s still wet, blend in the deep purple at the tips using a sponge, creating a smooth gradient. Once it’s all set, seal the deal with a glossy topcoat to give it that glassy finish.
Soft Pastel Rainbow French
Celebrates the delicate side of summer with its pastel rainbow French tips. It’s a twist on the classic French manicure, adding playful colors while maintaining an air of sophistication. The long, stiletto shape gives a modern edge to the French style, making it a bold statement for summer 2024.
Essential Ingredients
- Base coat: “Pink Armor” by Orly
- Pastel polishes: “Spring Pastels” collection by China Glaze
- Topcoat: “Mirror Shine” by Seche Vite
My Take: This is a look that requires precision but the end result is undeniably classy and chic.
DIY Nail Art at Home
After your base coat, apply a sheer pink over the entire nail. Then, paint each tip with a different pastel shade, using tape as a guide to keep lines sharp and clean. Finish with a shiny topcoat to enhance the color combos.
Holographic Green Spring Fantasy
Is where dreams of spring materialize at your fingertips. This holographic green fades into a pastel lilac, capturing the fresh essence of new beginnings. The fine glitter throughout creates a magical sparkle, perfect for those who wish to carry a piece of springtime with them.
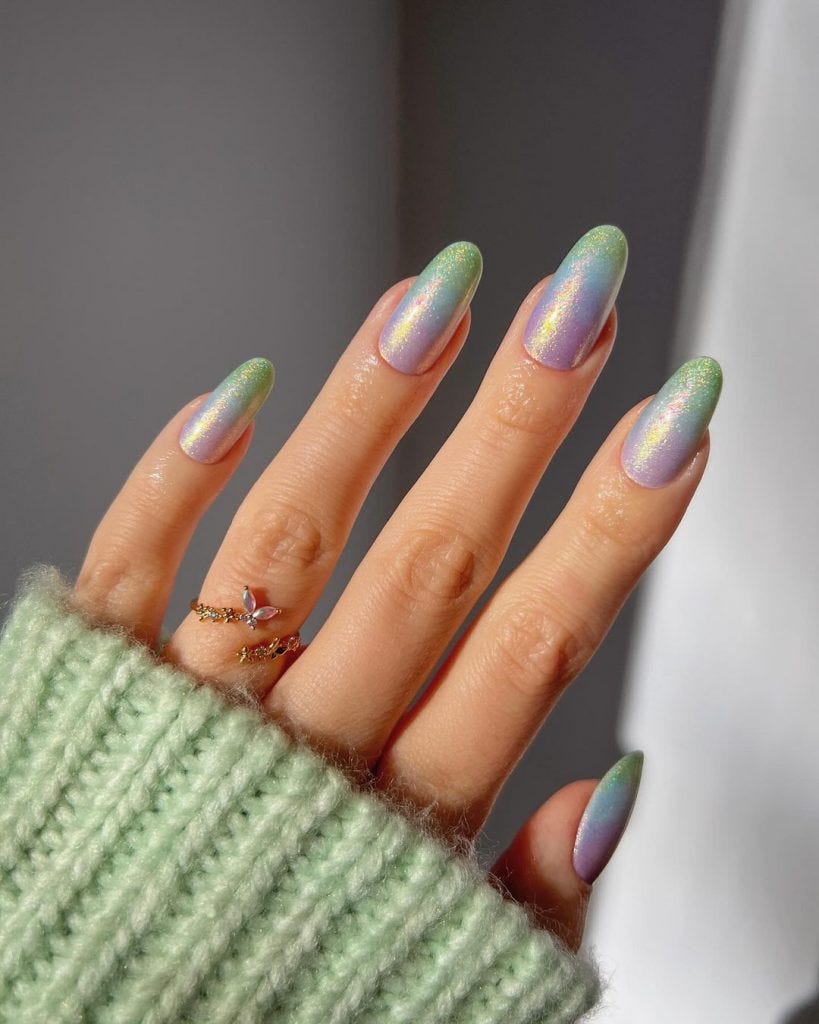
Essential Ingredients
- Base coat: “Shield Protector” by Butter London
- Holographic green polish: “Emerald City” by Color Club
- Lilac polish: “Lavender Whisper” by Sally Hansen
- Holographic topcoat: “Disco Ball” by Essie
My Take: The holographic elements make this an art piece in motion, shimmering with every turn of the hand.
DIY Nail Art at Home
With a base coat down, apply the holographic green starting at the cuticle, then sponge the lilac towards the tips, letting the colors merge. The holographic topcoat is essential for that otherworldly sparkle.
Sparkle French Tips Pink
Nothing says sparkle french tips pink like these playfully vibrant nails. The pink hue is both flirty and fun, making it a go-to for summer escapades. The shimmering tips catch the sunlight beautifully, adding an element of depth to the overall design.
- Products You’ll Need:
- Bubblegum pink nail polish
- Silver sparkle polish
- Protective top coat
Bubblegum pink is a summer staple, and brands like China Glaze offer the perfect shade. Combine it with a silver sparkle polish for that sun-catching effect.
After your base coat, apply two coats of bubblegum pink. Once dry, apply the sparkle polish to the tips, fading it into the pink. Seal it with a protective top coat for a long-lasting finish.
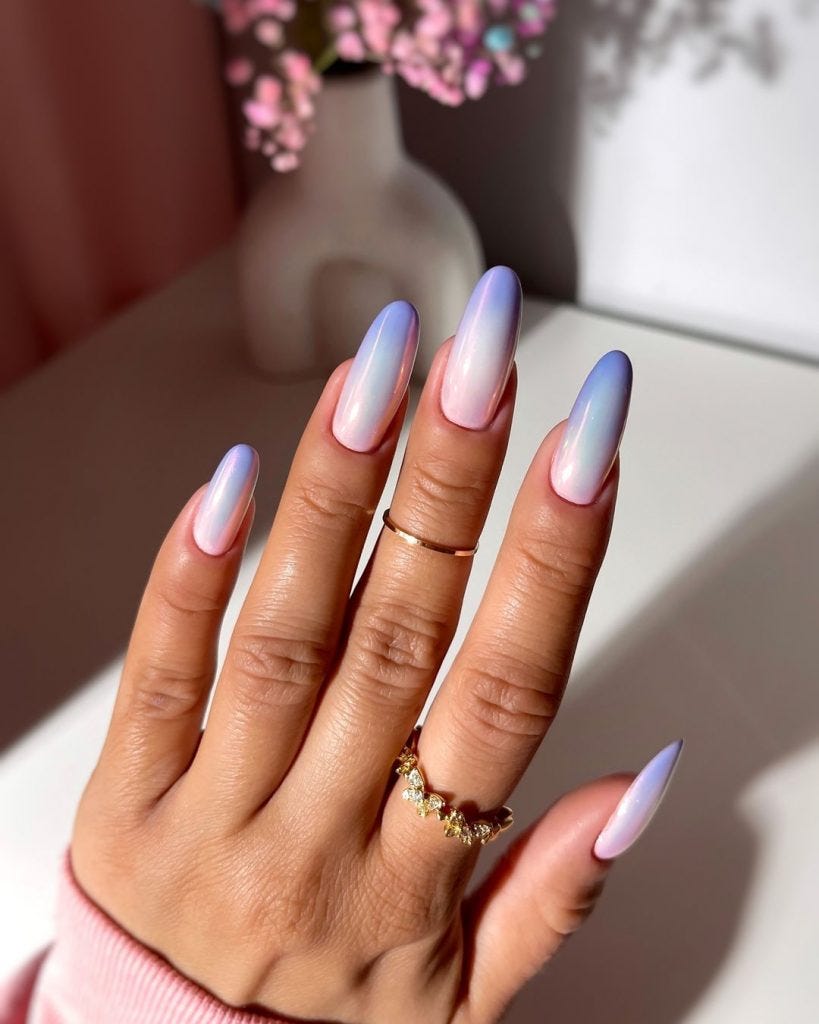
Almond Shaped Blue Ombre
The almond shaped nails dipped in hues of blue echo the serenity of a summer sky. This particular design transitions from a soft pastel at the base to a deep cerulean at the tips, capturing the essence of an oceanic getaway.

- Nail Essentials:
- Pastel blue base coat
- Deep blue polish for the ombre effect
- Sponging tool for the gradient
- Glossy top coat to seal the design
I recommend a sponging technique with polishes from CND for their seamless blendability.
Start with the pastel base, and while it’s slightly wet, dab the darker shade with a sponge from the tip downwards. It’s a simple yet impressive look that can easily be mastered at home with a little practice.
Pastel Rainbow Ombré
The pastel rainbow ombré nails are like a summer festival on your fingertips. Each nail tells a story with a different pastel shade, coming together to form a symphony of colors that’s playful and eye-catching.
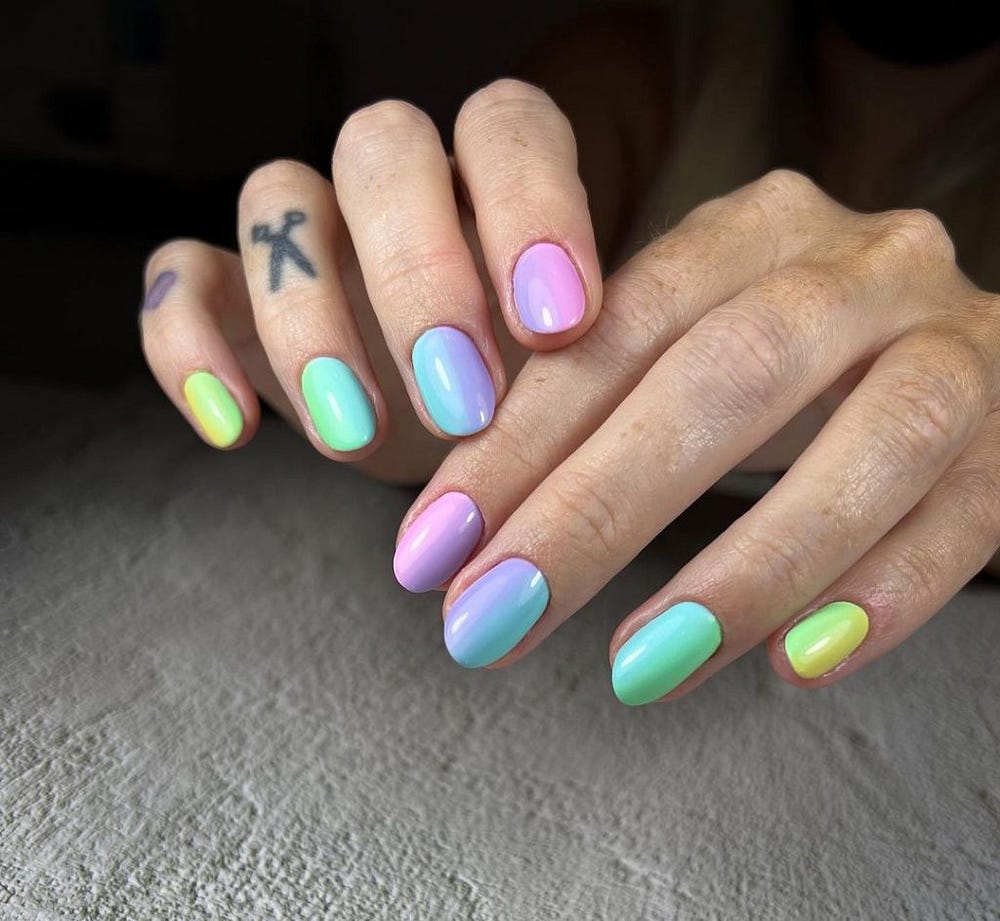
- Tools and Polishes:
- A range of pastel polishes (lavender, mint, peach, sky blue)
- Thin brushes for precise application
- A high-quality base and top coat
Essie and OPI have an excellent range of pastels that work perfectly for this look.
Apply a white base coat to make the colors pop. Then, paint each nail with a different pastel shade, blending them at the halfway point of the nail for that ombre effect. Seal with a glossy top coat for durability.
Yellow Ombré
Sunshine in the form of nails — that’s what the yellow ombré design is. Starting with a pale lemon and blending into a vivid sunflower tip, these nails are a true embodiment of summer’s vibrant energy.
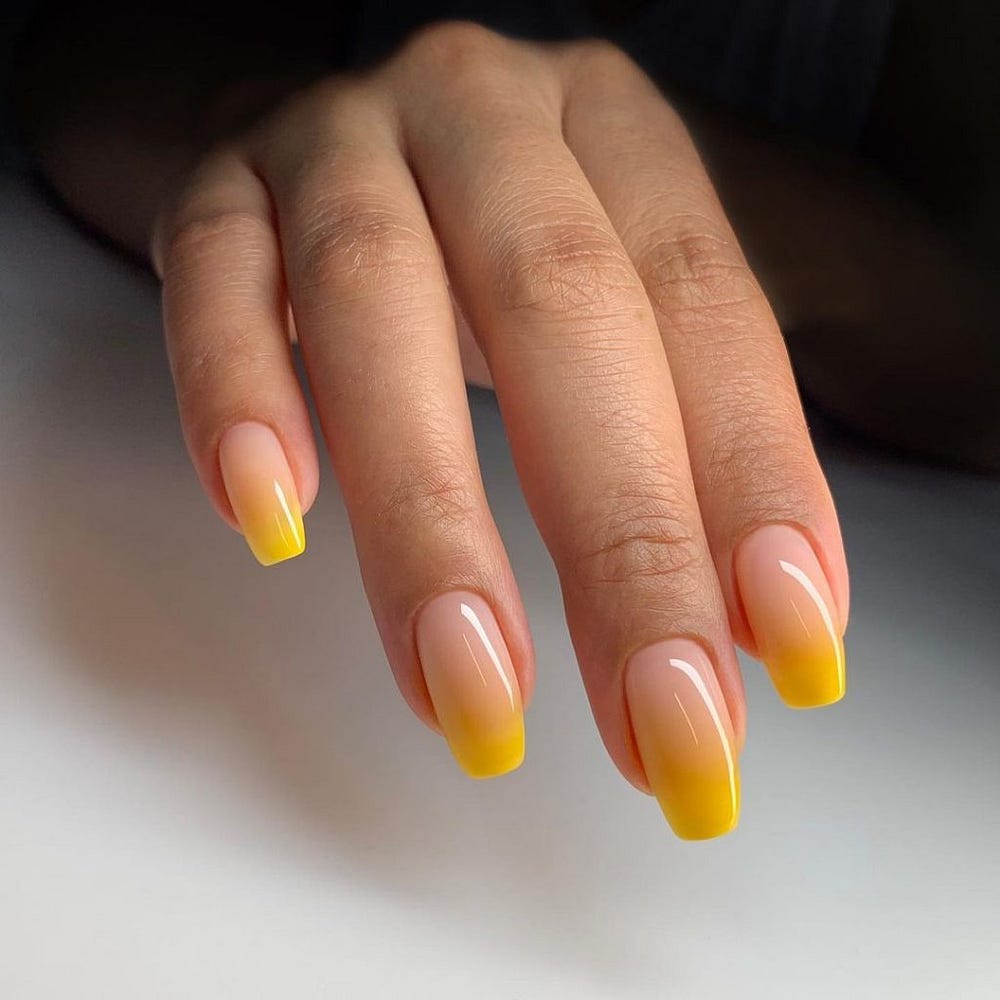
- Your Sunshine Kit:
- Pale yellow polish
- Bright yellow for the tip
- Sponging tool for the gradient
- Long-lasting top coat for a glossy finish
For the gradient, a makeup sponge does wonders in achieving that smooth transition. OPI’s yellows have the pigmentation and staying power needed for this sunny design.
Paint your nails with the pale yellow as a base. Use the sponge to apply the brighter yellow at the tips, pressing down lightly to blend. Finish with a top coat to enhance the shine and preserve your art.


0 Comments